Sheet Metal Tapping
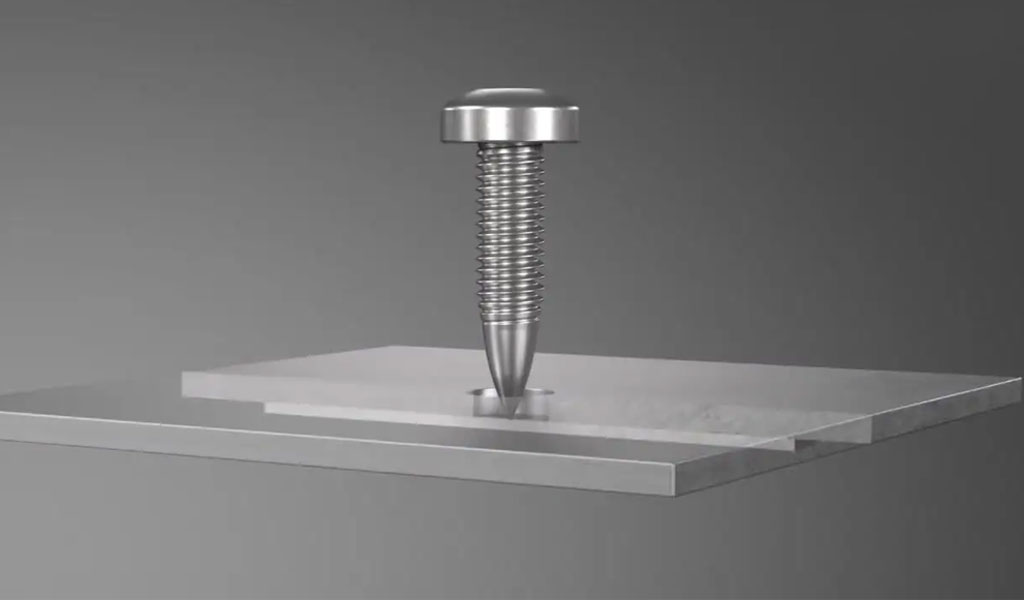
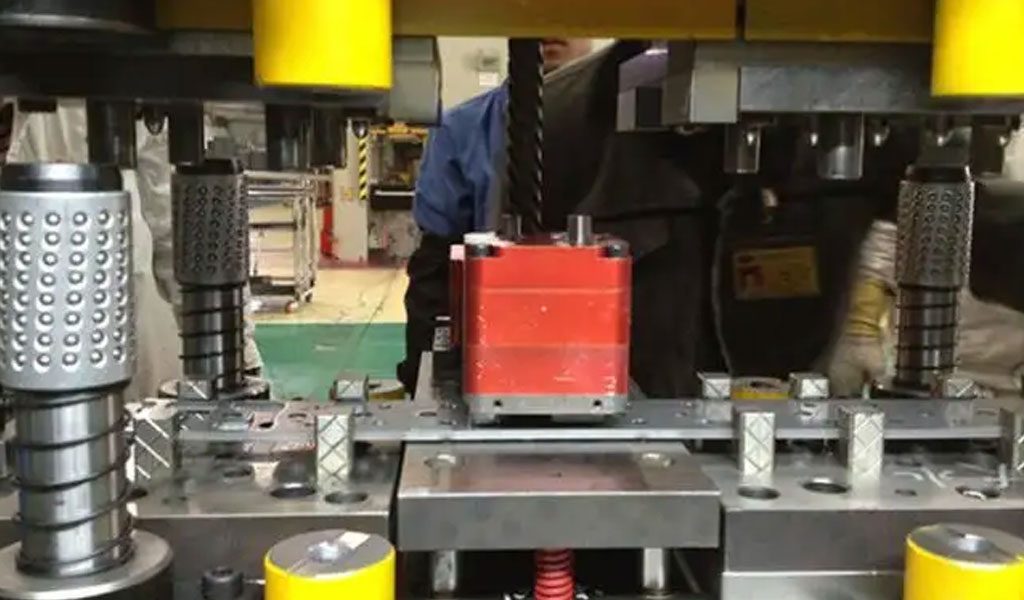
Metal tapping is also called extension tapping, flanging tapping, and stretch tapping. It is mainly used in sheet metal parts. Since the sheet metal parts are thin, the thread is short and easy to release if the thread is tapped directly. Therefore, punch a bottom hole (determined according to the thread specification) on the sheet metal parts, and then use a special stretching tool. The die (usually on an ordinary punching machine) is punched out. Simply put, the hole is punched, the height (wall thickness) of the hole is lengthened, and then the thread is tapped to achieve the purpose of increasing the length of the thread.
Precision Sheet Metal Tapping Services With Compound Savings, Constant Reliability
As the premier sheet metal fabrication supplier, Pintejin knows the many benefits behind sheet metal tapping parts
Precision & close tolerance machining service means more than producing components to tight tolerances at Pintejin Sheet Metal Shop. At sheetmetal.wiki, our high volume sheet metal tapping services aren’t done until they are precisely in line with customer expectations for reliable delivery, component quality and world-class cost-effectiveness.None of these outcomes can be successfully achieved without Pintejin’s state-of-the-art equipment selection.Pintejin meets or exceeds the quality standards of the world’s most demanding industries with our state of the art equipment and quality standards. This tradition of pride is precisely what you’ll experience when you contact a Pintejin Sheet Metal fabrication expert about your next precision machining job.

Under What Circumstances Is The Hole Flanged And Tapped?
To explain under what circumstances flanging and tapping are required, a concept must be introduced: the minimum number of thread turns, generally the number of mechanical thread turns is 8 to 10 turns, and the minimum number of thread turns is 3 turns. That is to say, the effective number of turns of the thread is 8~10 turns to ensure that the connection of the thread is strong, and the thread will not be damaged during the stress process. Sheet metal fabrication threaded connections are low-strength connections, and at least the minimum number of thread turns must be guaranteed. When the wall of the sheet metal part is very thin, it is necessary to re-tap the thread if the minimum number of thread turns is not met, mainly to increase the connection strength, such as the aluminum alloy casing of some electronic products.
How Big Is The Bottom Hole For The Tapping Of Sheet Metal Parts? What Is The Height Of Sheet Metal Flanging?
The flange height depends on the size of the bottom hole. Generally, the pre- punching hole of the small threaded bottom hole is 0.45 times (ie: the pre-punching hole with a diameter of 4.2mm is 1.8~ 2mm in diameter) —- In this case, the . flanging height is equal to about 3 times the material Thick (3.6~ 4mm). (It is certain that the flanging part becomes thinner, otherwise there is no limit to the height) .
The Precautions For Sheet Metal Tapping
| Plate Bottom Hole Size | 1.5 | 2.5 | 3 | 5 | |
|---|---|---|---|---|---|
| M3 (tapping) | 2.5 | OK | OK | K | ok |
| M4 (tapping) | 3.3 | oK | oE | OK | OE |
| M5 (tapping) | 4.2 | 8K | K | OE | OE |
| MB (tapping) | 5 | DB | CE | 8E | |
| MB (tapping) | 6.8 | aR | |||
| M1o (tapping) | 8.5 | ||||
| M12 (tapping) | 10.2 | ||||
| M14 (tapping) | 12 | ||||
| M6 (T-type nut) | 8 | OK | OK | 0K | OR |
| MB (T-type nut) | 10 | OR | OK | OK | 0R |
| M1o (T-type nut) | 12 | OK | OK | 0R | 0K |
| M12 (T-type nut) | 14 | OK | 0K | OK | OK |
| M14 (T-type nut) | 16 | OK | OK | OK | OK |
| M5 (hexagonal nut) | 6 | OK | OK | 0R | |
| MG (hexagonal nut) | 7 | OR | 0K | OK | OK |
| M male (hexagonal nut) | g | OK | 0K | OK | OR |
Standard Bottom Hole
- M2.5 1.5mm Φ2.1
- M3 1.5mm Φ2.5
- M4 2mm Φ3.3
- M5 2.5mm Φ4.3
Sheet Metal Tapping–The Relationship Between Pitch And Plate Thickness
Sheet metal tapping has the following principles:
- The thin plate is generally only suitable for fine thread
Thin plates below 2.3mm are generally not suitable for structural load-bearing use, most of which are decorative plates or small brackets - Theoretical minimum number of threads is 1.5 turns
- The ideal number of threads is more than 2 turns
- Very thin sheet metal, not easy to tap, use self-tapping screws
Then the corresponding minimum plate thickness is 1.5 times the pitch and most of the thin plate materials are low carbon steel, Q series, or common materials such as SPCC, SPHC, DC01, and their own strength is not a problem.
The following table is a simple illustration I made, listing some common specifications. X means not applicable, O means applicable, triangle means it can be used according to the situation, but it is not recommended (exactly between 1.5 times the distance and 2 times the distance). I have specially added two specifications of T1.2 and T1.6 here. It is rarely used in China, but the Japanese like to use it, and the reason is not difficult to draw from the table below.
| D | P | T0.5 | T1.0 | T1.2 | T1.5 | T1.6 | T2.0 | T2.5 | T3.0 |
|---|---|---|---|---|---|---|---|---|---|
| M1.6 | 0.35 | x | o | o | o | o | o | o | o |
| M2 | 0.4 | x | o | o | o | o | o | o | o |
| M3 | 0.5 | x | △ | o | o | o | o | o | o |
| M4 | 0.7 | x | x | △ | o | o | o | o | o |
| M5 | 0.8 | x | x | △ | △ | o | o | o | o |
| M6 | 1 | x | x | x | △ | △ | o | o | o |
| M8 | 1.25 | x | x | x | x | x | △ | o | o |
| M10 | 1.5 | x | x | x | x | x | x | △ | o |
In order to reduce the use of non-recommended situations, the Japanese generally use the boss method in a large number to achieve the method of increasing the wall thickness. For high-quality materials, this is not a problem, but because domestic steel materials are generally of poor quality and prone to slippage, it is not recommended. If you are really worried, you should still use the rivet nut method (the Japanese don’t like to use it because it costs a lot).At the same time, the table of thread pitch of each model is attached.
| Millimeter | Coarse Fangs | Fine Teeth | No. <1/4″ | Inches In | Bom mm | Coarse Fangs UNC | Fine Tooth UNF |
|---|---|---|---|---|---|---|---|
| M1 | 0.25 | 0.2 | 0# | 0.06 | 1.524 | 80 | |
| M1.2 | 0.25 | 0.2 | 1# | 0.073 | 1.854 | 64 | 72 |
| M1.6 | 0.35 | 0.2 | 2 common | 0.086 | 2.184 | 56 | 64 |
| M2 | 0.4 | 0.25 | 3# | 0.09g | 2.515 | 48 | 56 |
| M2.5 | 0.45 | 0.35 | 4# | 0.112 | 2.845 | 40 | 48 |
| M3 | 0.5 | 0.35 | 5β | 0.125 | 3.175 | 40 | 44 |
| M4 | 0.7 | 0.5 | 6 common | 0.138 | 3.505 | 32 | 40 |
| M5 | 0.8 | 0.5 | 8 roses | 0.164 | 4.166 | 32 | 36 |
| M6 | 0.75 | 10# | 0.19 | 4.826 | 24 | 32 | |
| M8 | 1.25 | 1 | 12 even | 0.216 | 5.486 | 24 | 28 |
| M10 | 1.5 | 1.25 | 1$4″ | 0.25 | 6.35 | 20 | 28 |
| M12 | 1.75 | 1.25 | 5116″ | 0.3125 | 7.938 | 18 | 24 |
| M14 | 2 | 1.5 | 3/8″ | 0.375 | 9.525 | 16 | 24 |
| Nominal Diameter | Tooth Distance mm | Tooth Distance mm | Nominal Diameter | Diameter Size | Diameter Size | Tooth pitch = teeth per inch | Tooth pitch = teeth per inch |


